Create the RCRS Scenario
The RoboCup Rescue Simulation (RCRS) requires a disaster scenario to be used in simulators. The scenarios include information of the map of the disaster zone, location of rescue teams and civilians, location of urban facilities (i.e., refuge, gas station, etc.) and location fire. The role of each urban facility or rescue team and the simulation interaction when a fire occurs can be found on this page or in the official manual of RCRS. Therefore, you can create the scenario of RCRS as follows:
- Build the map of the scenarios
- Build the configuration (i.e., location of the rescue team, civilians, fire, etc.) of the scenarios.
- Move the created scenario to Scenario Generator directory and run.
Build the map of the scenarios
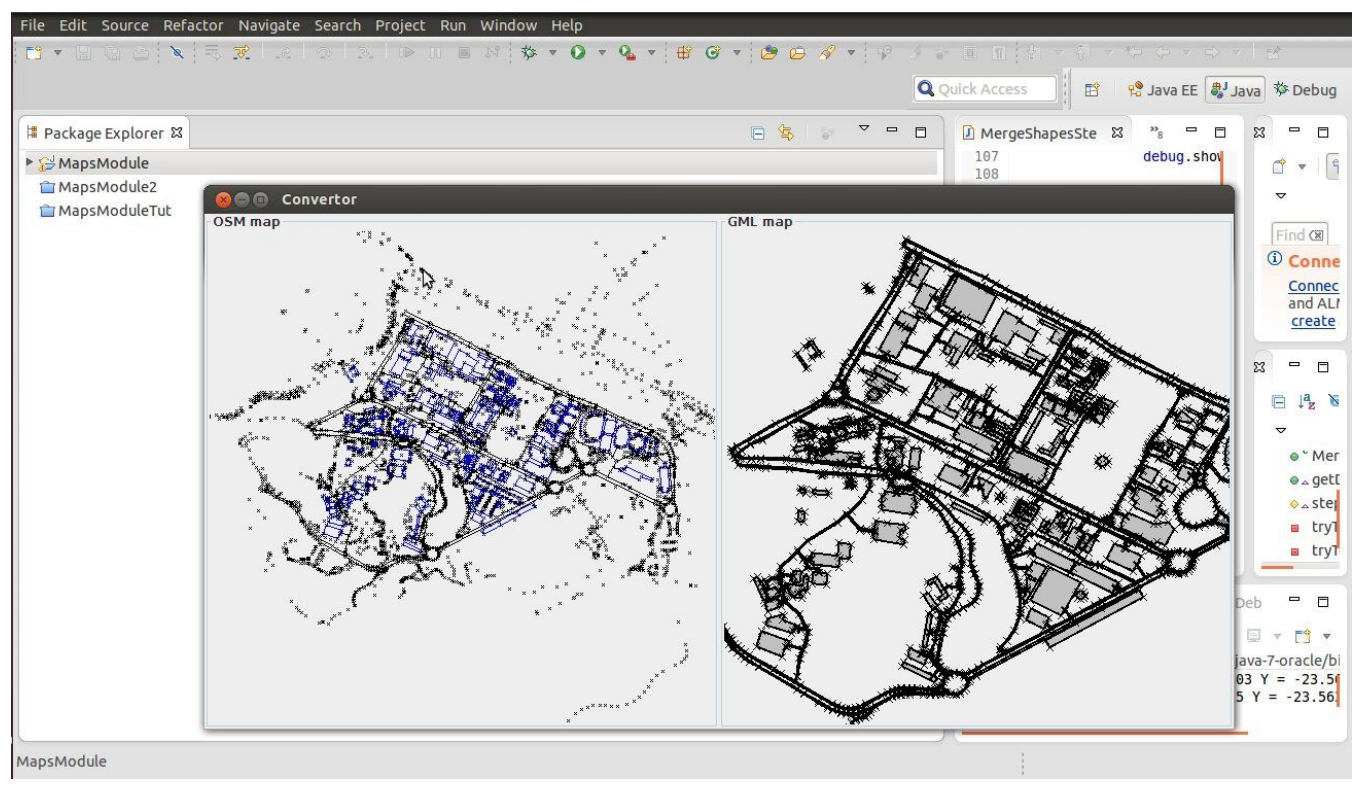
In the RCRS, the simulator simulates the earthquake occurs in the city according to a specific disaster scenario. The city where the earthquake will occur can be selected from the Open Street Map (OSM) because the RCRS has a program that converts maps on the OSM into maps to be used for simulation. You can refer the official tutorial of RCRS to see how to create the map using OSM.

Furthermore, you can use the example map of RCRS which used in the competition of the RoboCup Rescue Simulation League. In our Scenario Generator includes the example map used in the 2017 competition. If you want to download the example map, you can refer to this page. When you finish building the map or download the example map, you can see the config and map directory.
Build the configuration of the scenario
In the scenario directory, you can see the config and map directory.
First, in the config directory, you can change the parameter of scenarios. For example, in the kernel.cfg, you can change the number of kernel.timesteps to set the time step of the scenario. And there are many other parameters you can change, however, you don’t need to change the other parameter if you want to use our scenario generator. To see the other parameter of the scenario, please refer to the official RoboCup Rescue Simulation Page.
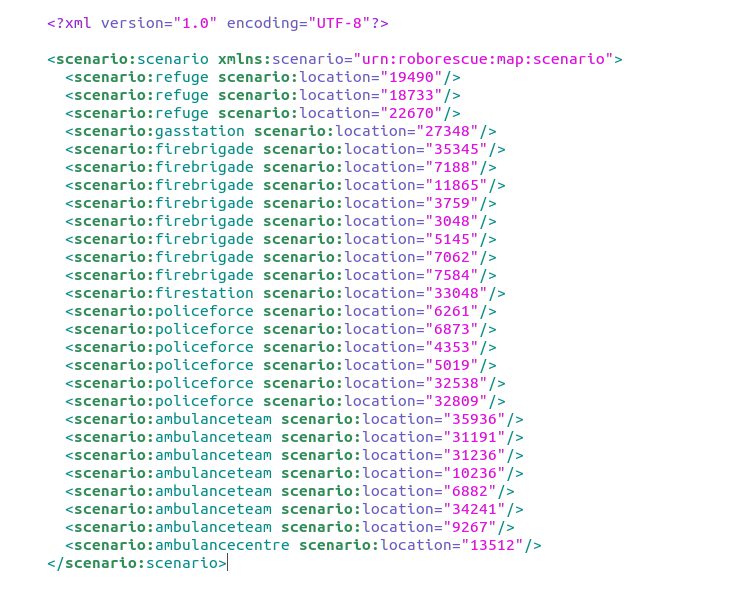
Second, in the map directory, you can see the map.gml and scenario.xml file. You should not touch the map.gml file and you can set the scenario.xml to change the number of the rescue team, civilians, facility and the location of the rescue team, civilians, facility. As the GML file, the scenario file is also XML-based, and contains a list of the elements that compose the initial setup for the simulation, including starting fires, refuges, civilians, patrol agents, etc. Each element of the xml file has two attributes. The first of them determines what kind of elements you are creating for the initial configuration (fire, refuge, ambulance, ambulancecentre, etc.). The second one is called “Location” and determines where the element will appear in the beginning of the simulation, the value of this attribute is a number that refers to the id of one of the elements in the GML file (either a Building or a Road). The figure below shows a reduced representation of scenario file created for example.

Some types of elements can be located only on Buildings, while the other part can be located only on roads. Note that in the scenario file above the elements are located in the respective type of location (defined in the GML file). The following list shows the types of elements corresponding to Building or Road.
- Buildings
- fire
- refuge
- firestation
- ambulancecentre
- gasstation
- Road
- ambulanceteam
- policeforce
- firebrigade
- civilian
- hydrant
Set the location of elements in the scenario
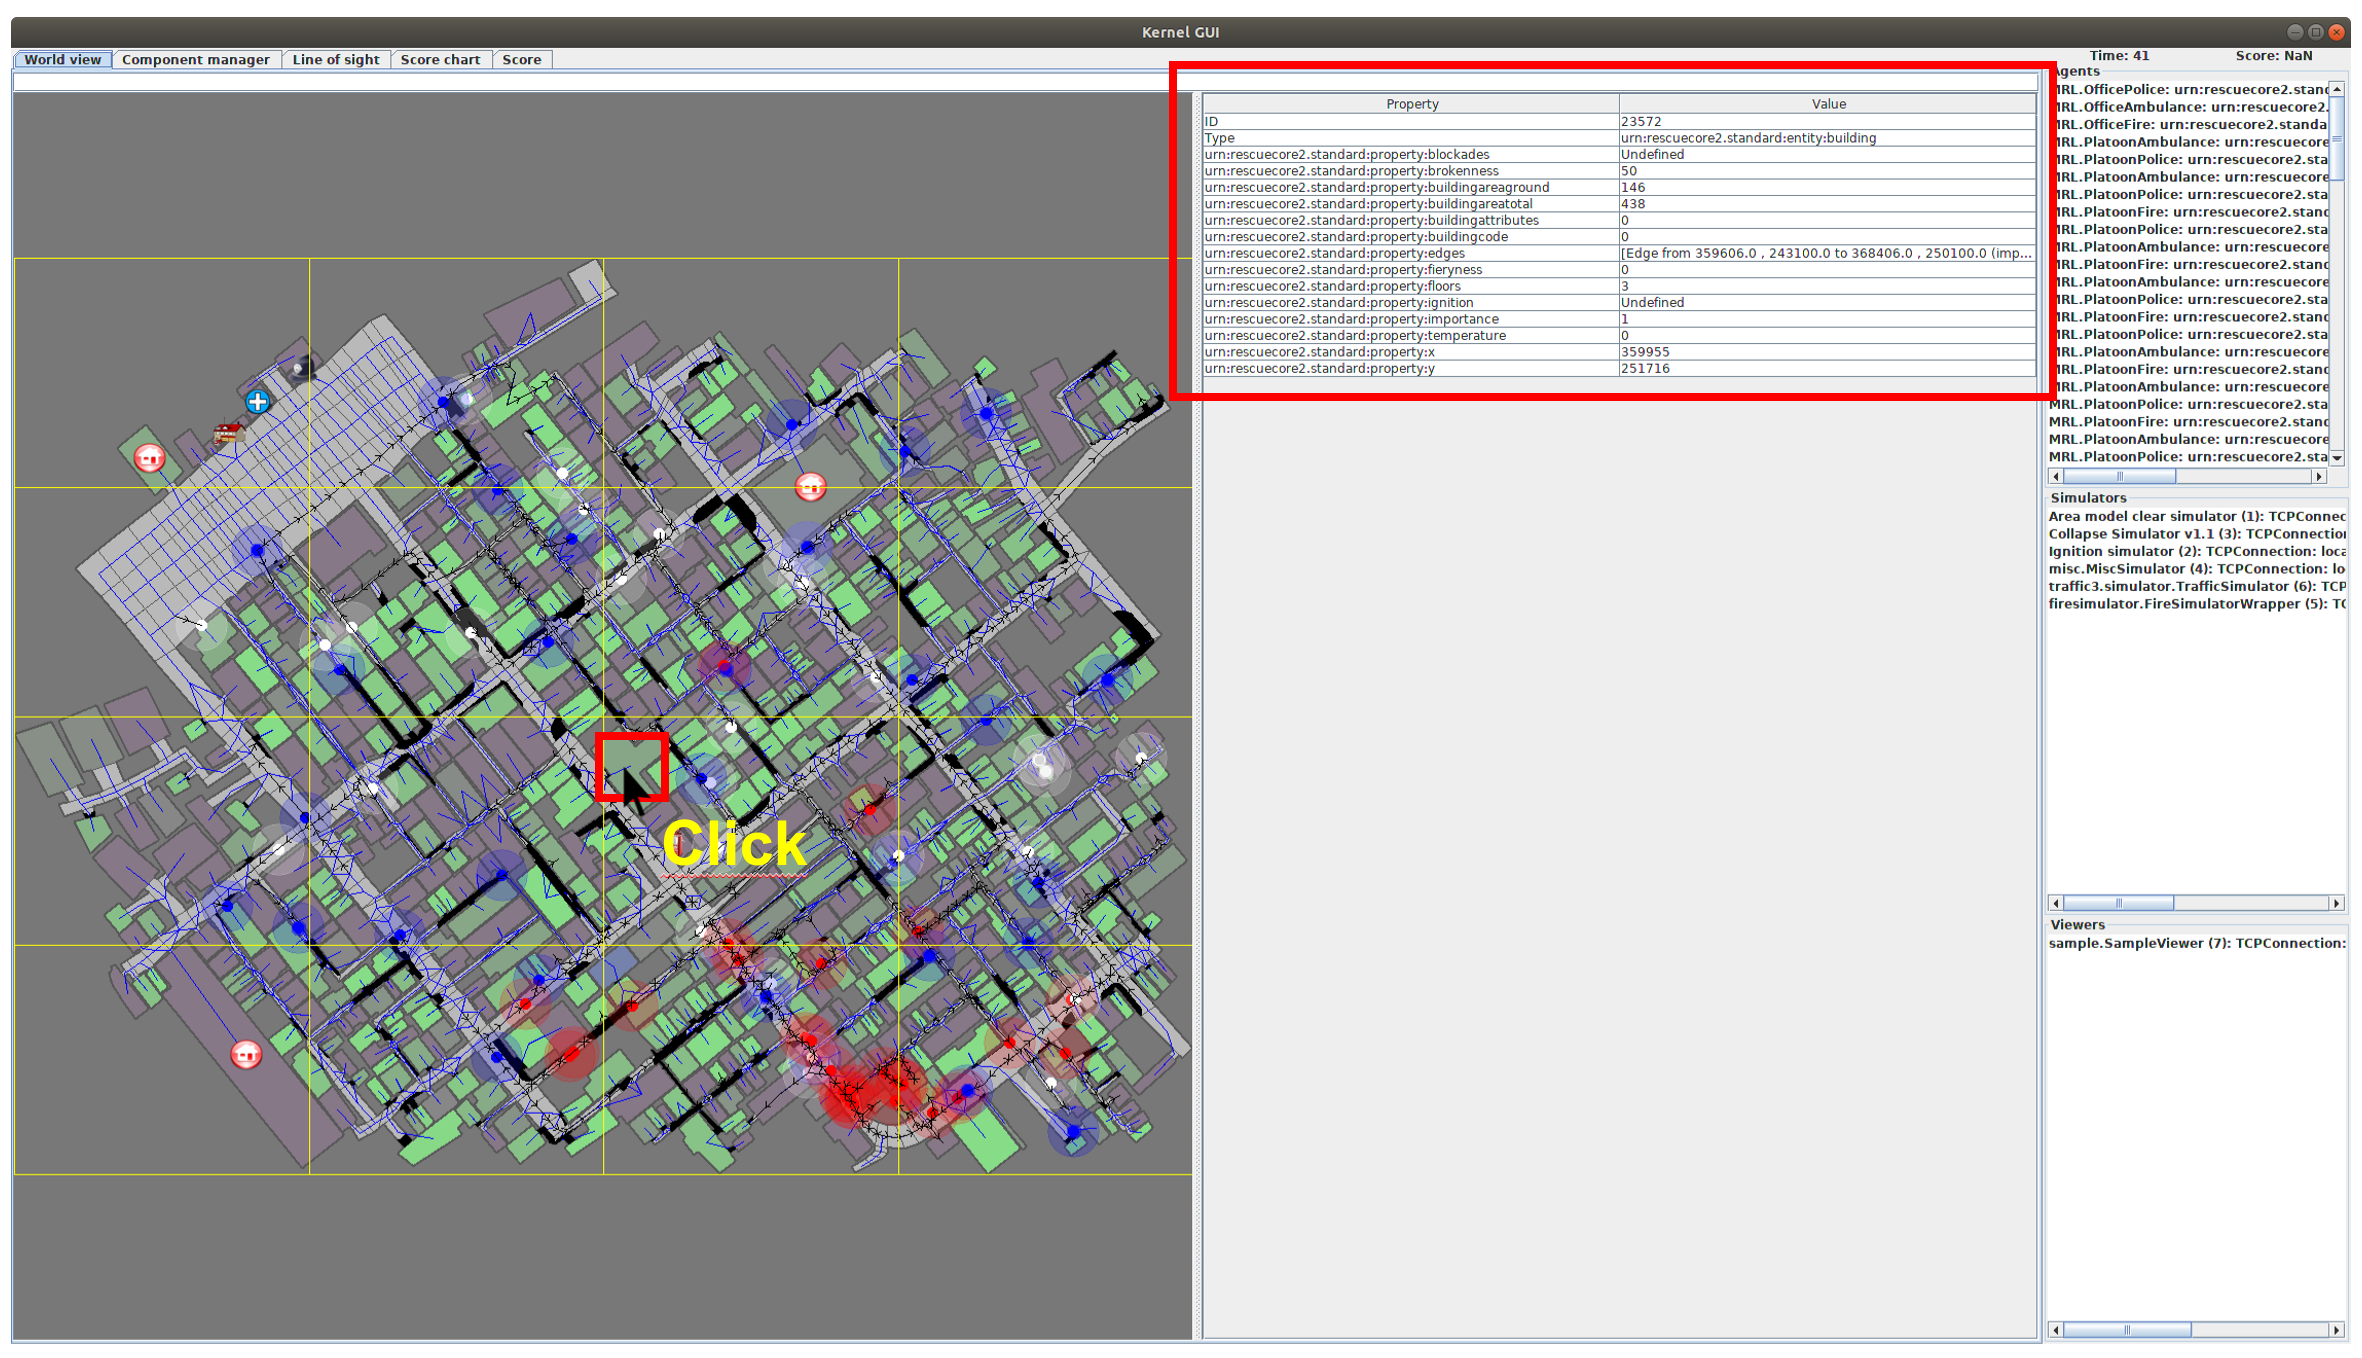
In the scenario.xml file, you can set the location of elements. For example, you can change the location of each firebrigade, police or initial fire building. Our Scenario Generator automatically locate the civilians of scenario as you input the number of civilians. However, you should set the location of the rescue teams, fires and faculties. As refer to the Build the configuration of the scenario section, the first of them determines what kind of elements you are creating for the initial configuration and the second one is the location of the element. However, you cannot know the exact location on the map by looking at this id number only. Therefore, you should run RCRS to know the id number of location. You can run RCRS yourself using the official the RoboCup Rescue Simulator or our Scenario Generator. If you use our Scenario Generator, you can easily run the simulations with the below commands.
python3 [Scenario Generator Directory]/Sample.py [Map Directory Name]
For [Map Directory Name], only scenarios within the [Scenario Generator Directory]/RCRS/baseMap] directory are possible. If there are any scenarios you want, they should be moved to that directory. Therefore, when you run the simulator, you can see the figure as below.

And when you click the building or road, you can see the information of that element such as id of element, type of element, coordinate, etc.
Leave a comment